
Having an aesthetically pleasing Instagram feed may or may not be a goal of yours, but I’m here to share my secrets on how I achieve this for my own Instagram accounts. If you’re an influencer, blogger, or small business owner, your feed should look and feel professional. Representing a cohesive message will help for potential clients decide if they want to work with you. On the other hand if you have a personal account, your feed should still represent who you are. It’s your space to share life experiences and document memories. For those of you who want to make your page stand out from the rest, keep reading. Today, I’m sharing my 5 ways to make your Instagram feed more cohesive.
ok, let’s get started.
1. Eliminate the unnecessary.
Take some time and scroll to the beginning. Oh yes, the very beginning of your Instagram existence. For most of us, this will be full of cringe-worthy mirror selfies, horrible quality photos with heavy filters and frames. Archive anything that doesn’t feel “you” anymore. You don’t necessarily have to delete the posts, but clicking that archive button will be the first step to a cohesive Instagram feed!
2. Decide on your new “look”.
Before you start posting new pictures, you must decide on the overall look and feel you would like to achieve. If you have a business page, it is absolutely NECESSARY to keep this consistent with your existing branding.
For example: If you are a wedding photographer who shoots clean, bright images, your Instagram feed should feel light and bright as well. A dark, moody feed would be confusing and decieving to clients. Consistency is key here!
If you just have a personal page, this is where you can have some fun! Take some time to find other accounts you resonate with, and take note of colors, photo styling, grid patterns, and anything else you’re inspired by. Pinterest can be super helpful here too!
3. Pick a preset!
For those of you who don’t know what this is, it’s similar to a filter.
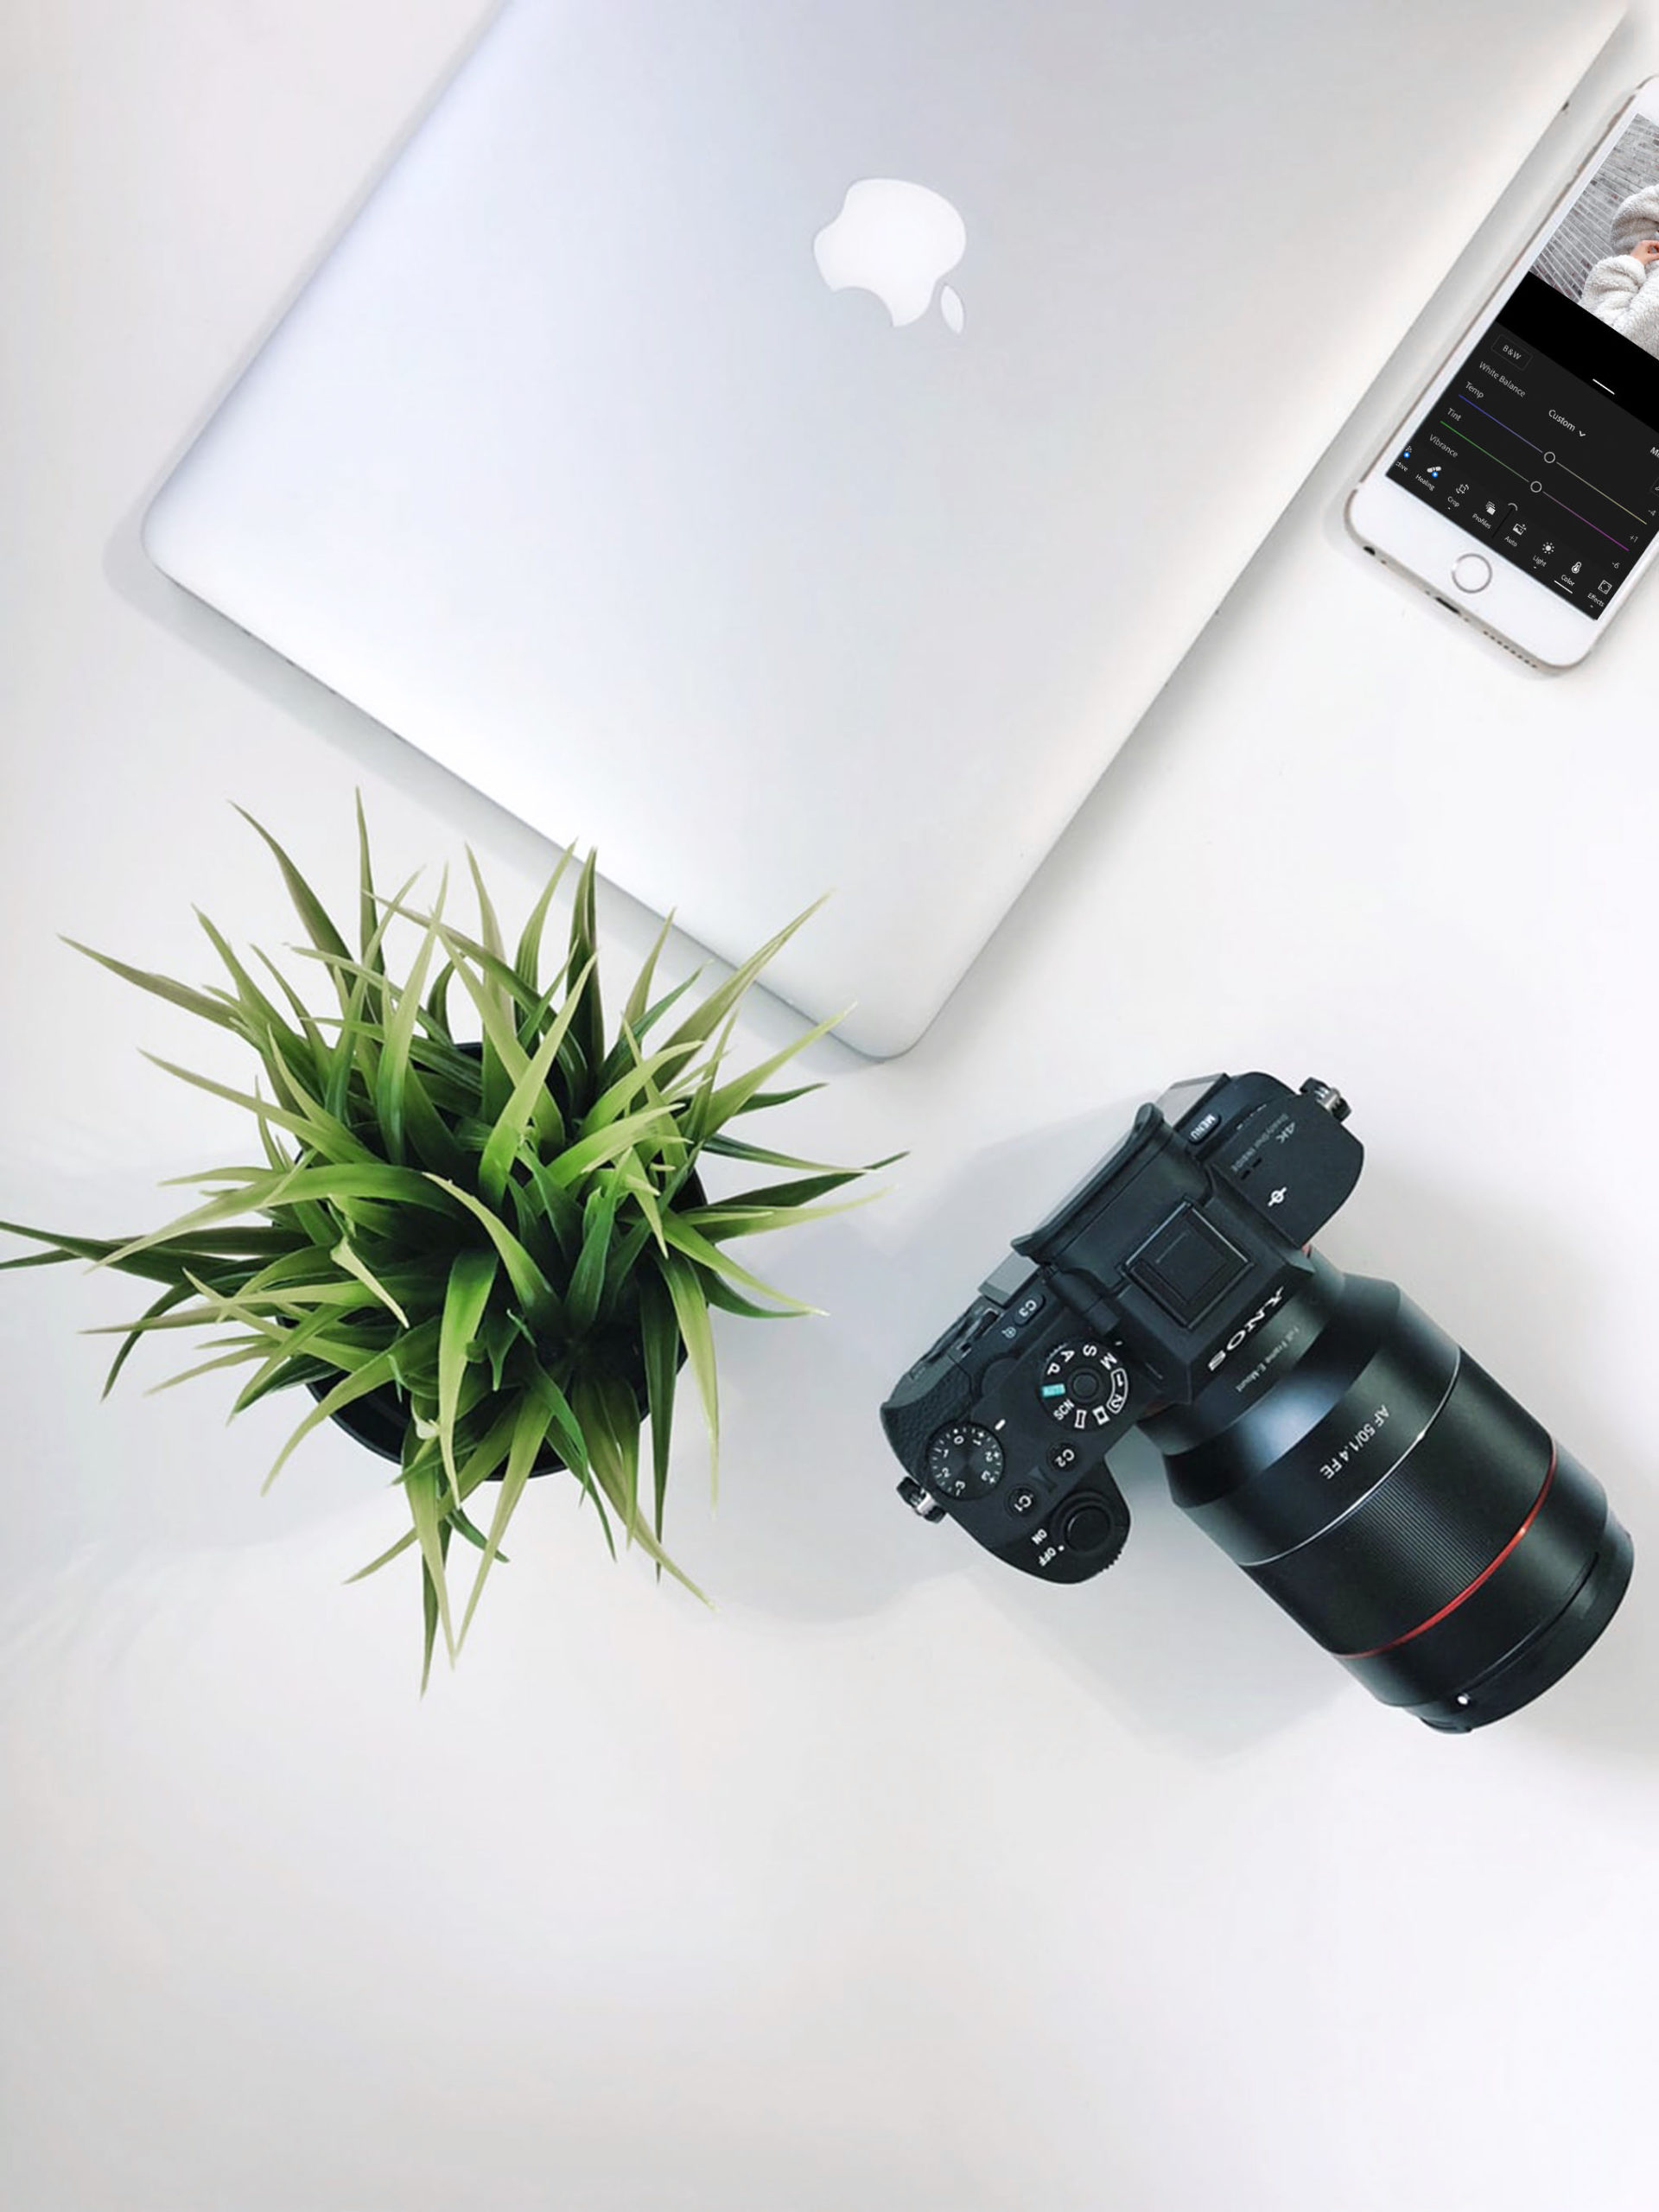
Adobe Lightroom is one of the most popular photo editing apps that allows you to retouch your images before publishing them on channels like Instagram. One of the app’s best features is its presets, which allow you to apply a set of edits and effects to a photo with just one click.
—creativemarket.com
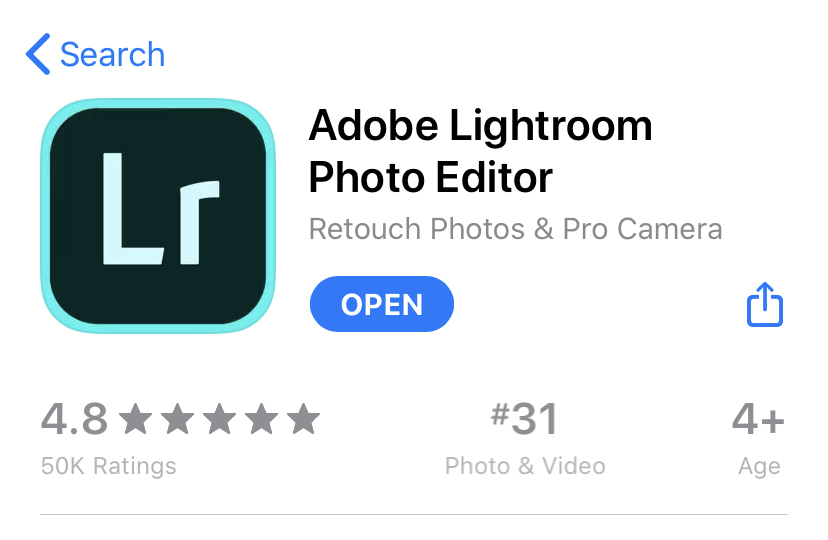
Before you even think about browsing filters, be sure to download the Adobe Lightroom app on your phone and become familiar with it. You’ll realize many controls are similar to those of any photo editing software. After you feel comfortable using the app, you can purchase and install a preset to use on all of your photos. I like to purchase my presets on Etsy, but I’m sure you can also find them on numerous websites with a simple google search.
Try to find a preset that represents what you decided on in Step 2. Install it into your Lightroom app, and use this on all photos before you post! If you need a tutorial on how to upload and save a preset to your app, I found this video to be the clearest, fastest and most direct tutorial on how to do it.
*Pro Tip: When deciding on a preset, it’s important to be realistic with your expectations of where you’ll be shooting your photos. Don’t choose a preset that pops bright, tropical colors if your photos will mostly be shot in Manhattan where its dark and neutral. Remember, presets are used to enhance your photos. They won’t transform photos into something completely different. Choose something that makes sense for both your branding + content.
4. Photoshoot Time!
After completing all the back-end work above, you’re ready to shoot photos for your feed! Keep in mind of color and angles when choosing backgrounds. You want to keep this pretty consistent.
For example: If your style is neutral and minimalistic, don’t choose busy backgrounds and bright walls. Opt for simple light colored buildings, or a neutral background. **It may be tempting to take a photo in front of a pretty mural or a bunch of flowers, but in the end this is not going to work with the overall aesthetic you’re trying to achieve here. Just be mindful!
After you’re satisfied with your photos, apply your preset! You’ll instantly start to see cohesiveness across all the photos. Kind of amazing, right?
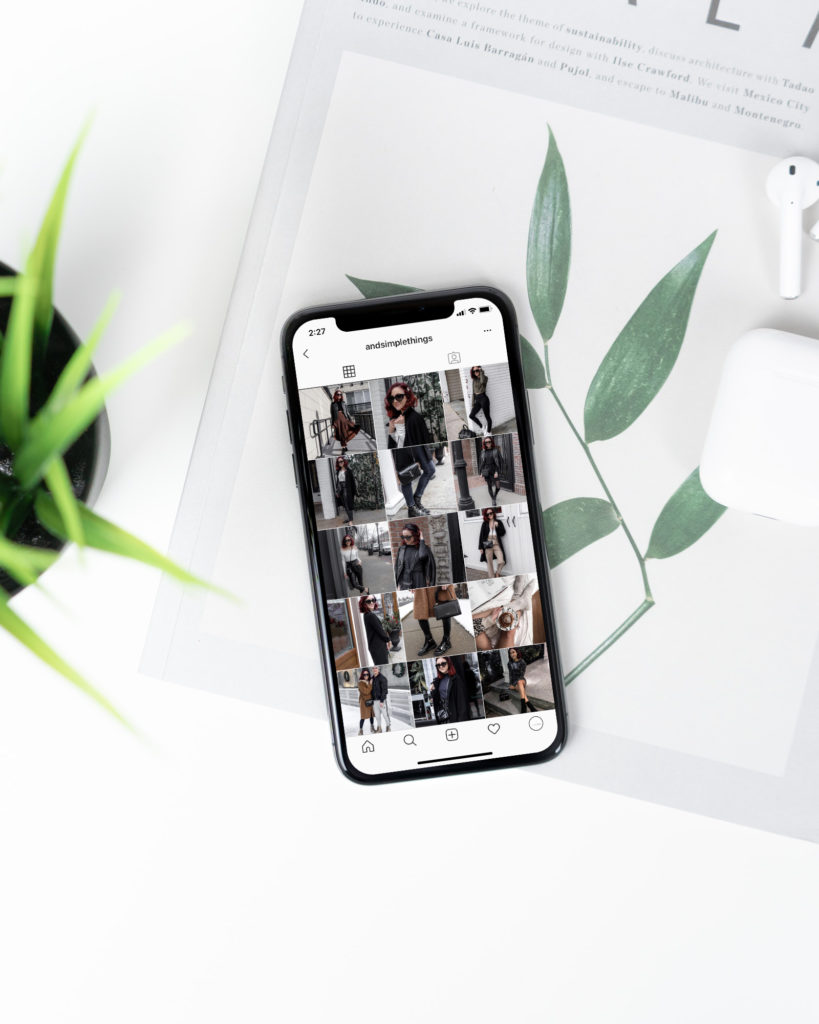
5. Planning the Grid
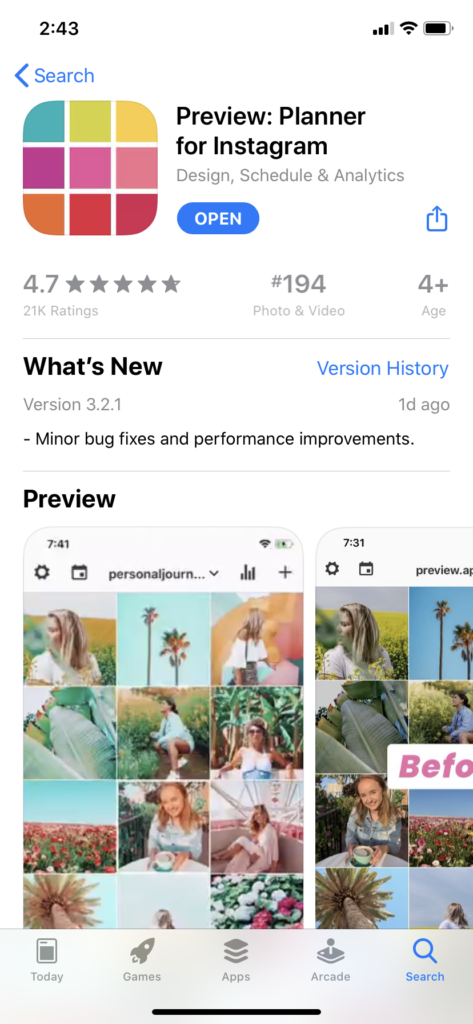
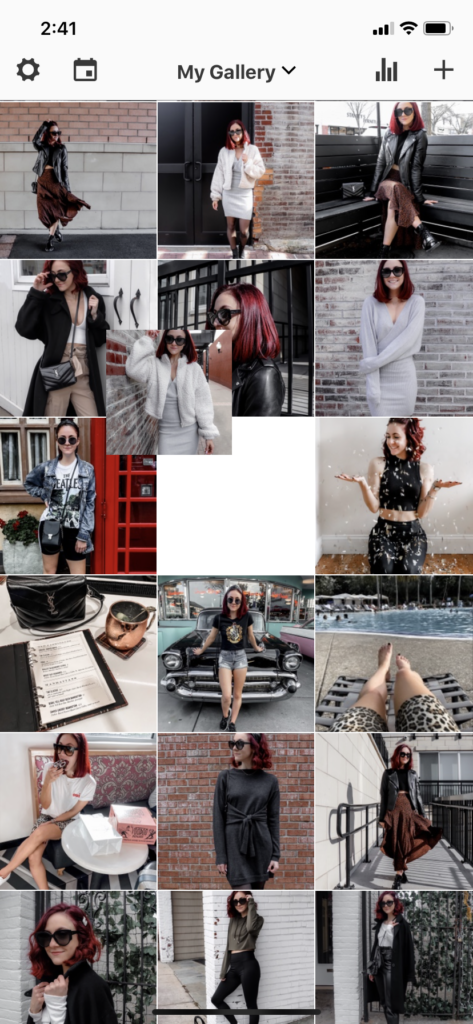
Once you’ve shot a bunch of photos, you’re just about ready to start posting to your feed! I like to plan out how my feed will look before posting anything. How do I do this? With an app called Preview. This app allows me to upload my photos and move them around to see what it would look like on Instagram’s 3 column grid. Once you’re satisfied with how it looks in the Preview app, you’ll know the order you need to post! It’s as simple as that!
and that’s it!
I use this exact process every time I post a photo to Instagram. Achieving a cohesive Instagram feed can be easy with just some planning and a bit of editing. Next time you’re ready to post a new photo to the feed, remember these tips and you will get there, I promise!
I hope you guys found this little guide helpful! I plan on writing more blog posts about design and all things social media in the future, so stay tuned! Be sure to subscribe below if you want to be notified of new blog posts, and send me a message with any blog posts requests you may have! I’d be happy to share my knowledge!
Until next time!

/ / As always, this is my personal blog. This blog post is not sponsored. Any views or opinions represented in this blog are my own and do not represent the views of any company or individual I may mention. This post may contain affiliate links where I make a small commission if you click and shop using my links. It won’t cost you a penny, but helps keep this blog running!


[…] my previous post, 5 Ways to Make Your Instagram Feed More Cohesive, I spoke about how you can create a beautiful insta-worthy feed that would impress any potential […]